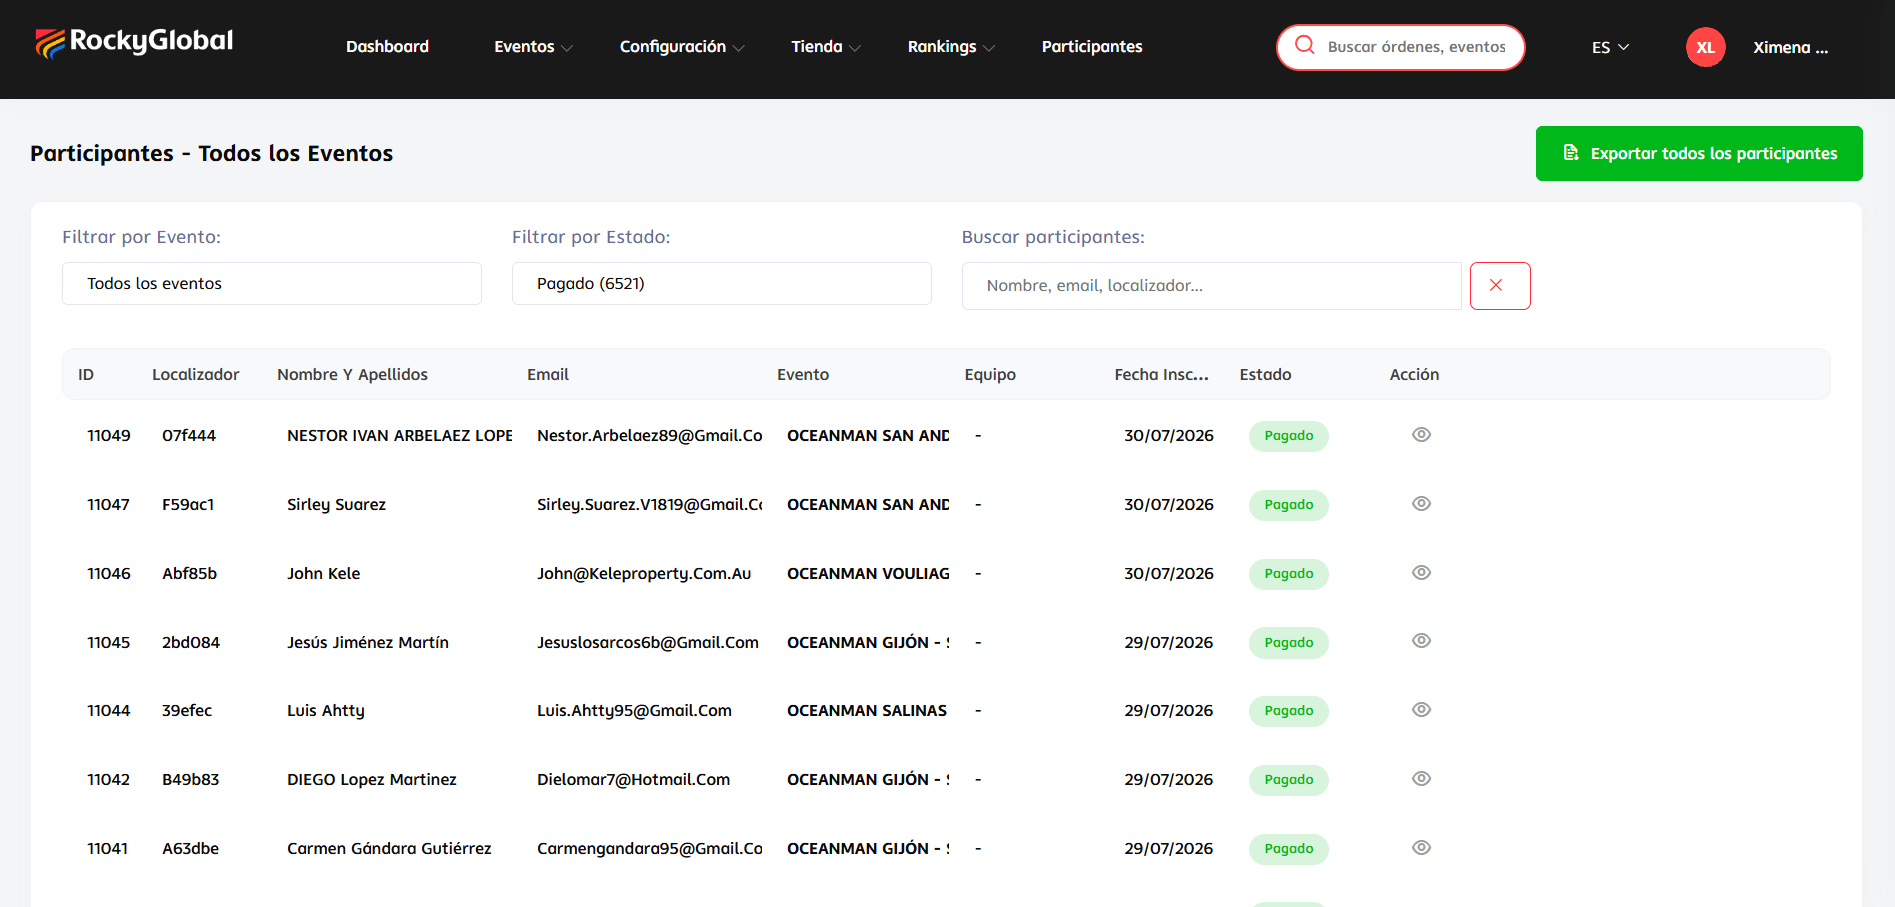
Participants panel
Within an event, the Registrations menu is the operational hub: it includes the list of registrants, the import wizard, and import details. From there you can:- View the full list with filters and search.
- Edit an athlete’s data.
- Assign bib numbers.
- Mark kit delivery.
- Export the list to Excel.
- Register entries manually or import them in bulk (useful for last-minute registrations, even with the event closed).
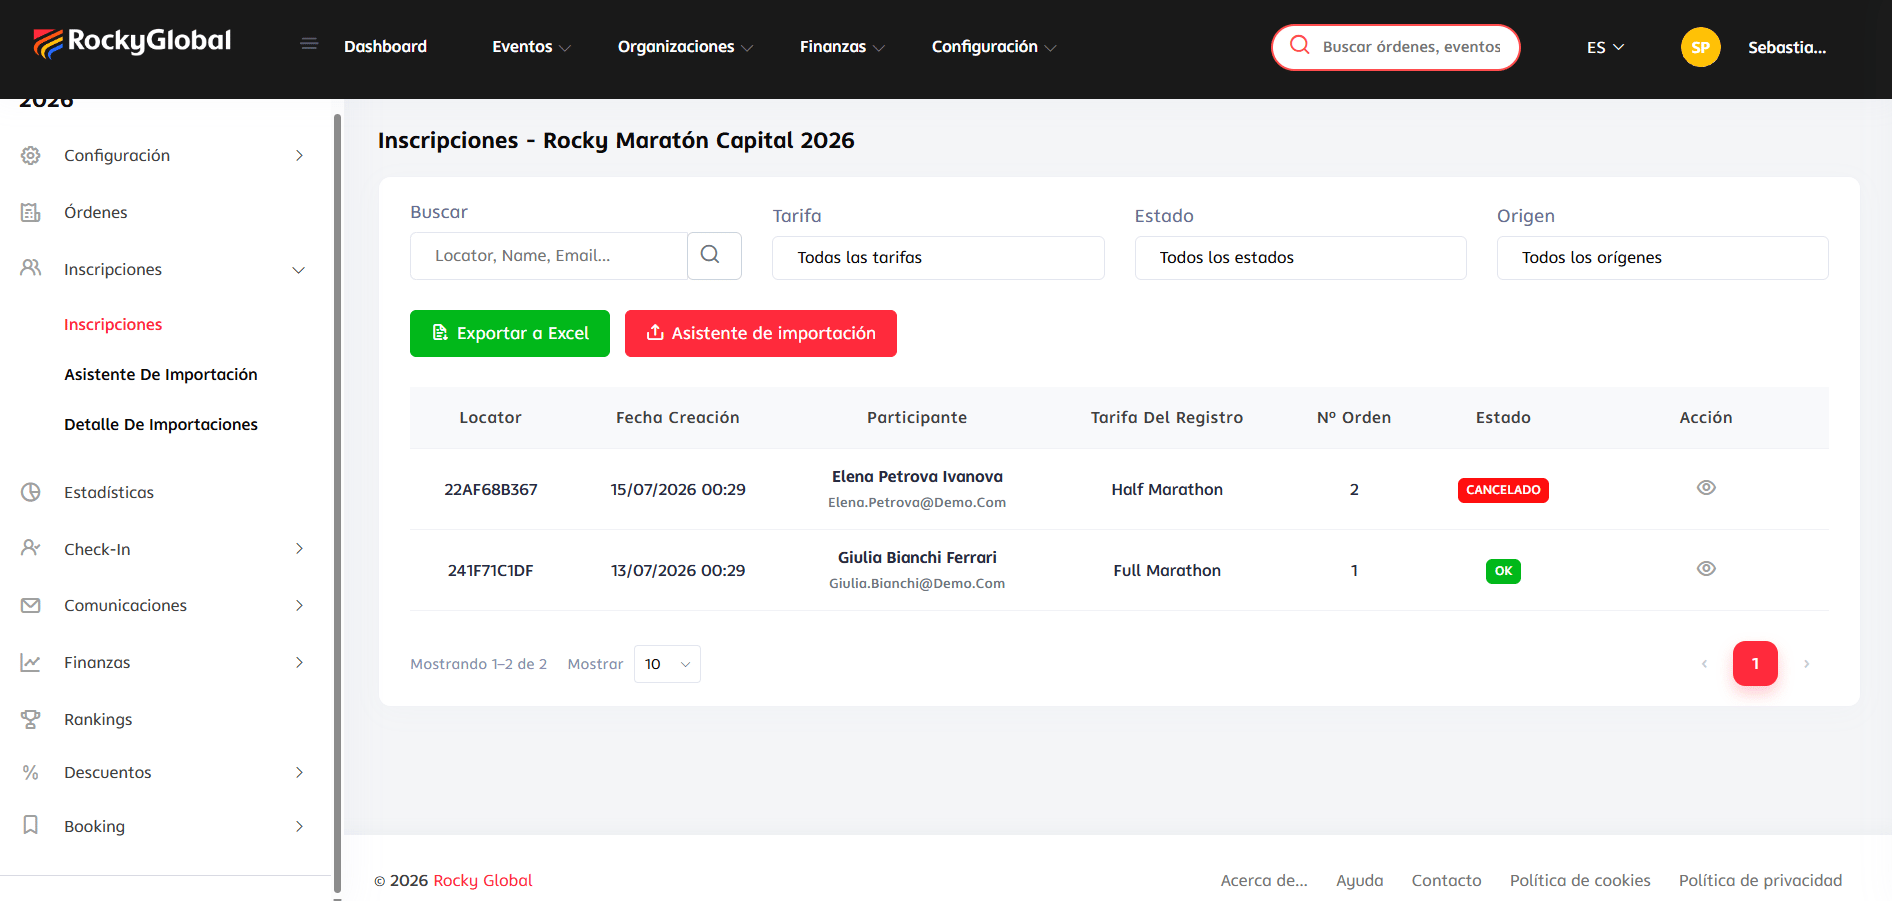
Available filters
- Fee (category).
- Status.
- Text search (name, ID, or email).
- Source (online, manual, imported).
Edit a registration
1
Find the participant
Use search by name, ID, or email.
2
Open 'Edit Registration'
You’ll see the Registration ID, Locator, Status, and BIB (bib number) at the top.
3
Edit what's needed
Further down, in Registration Data, you can update first and last names, email, date of birth, ID document, document type, and the rest of the registration form fields.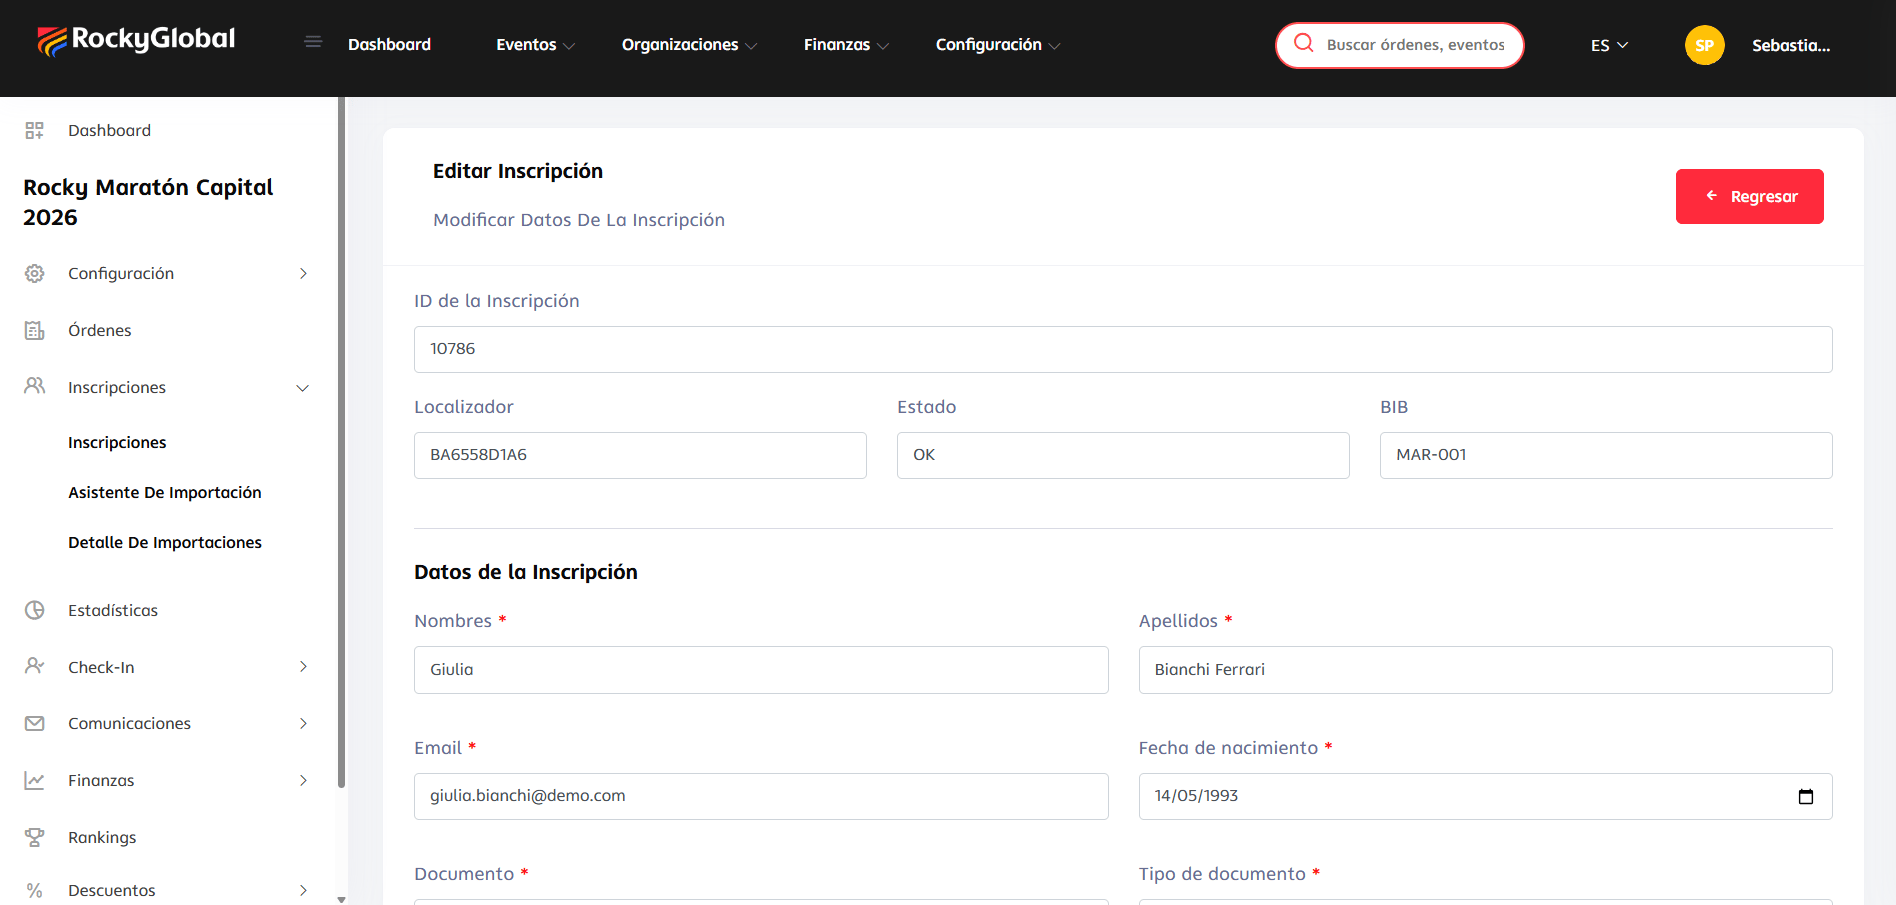
4
Save
Changes are saved immediately.
Import participants in bulk
If you have registrations from another source (for example, a migration from another platform), you can upload them with the Import Wizard (within Registrations), instead of registering them one by one. It has 6 steps:1
1. Setup
Import name, Registration Type (Individual or Group), fee, and language. You can download the Excel template from the Download Excel Template button.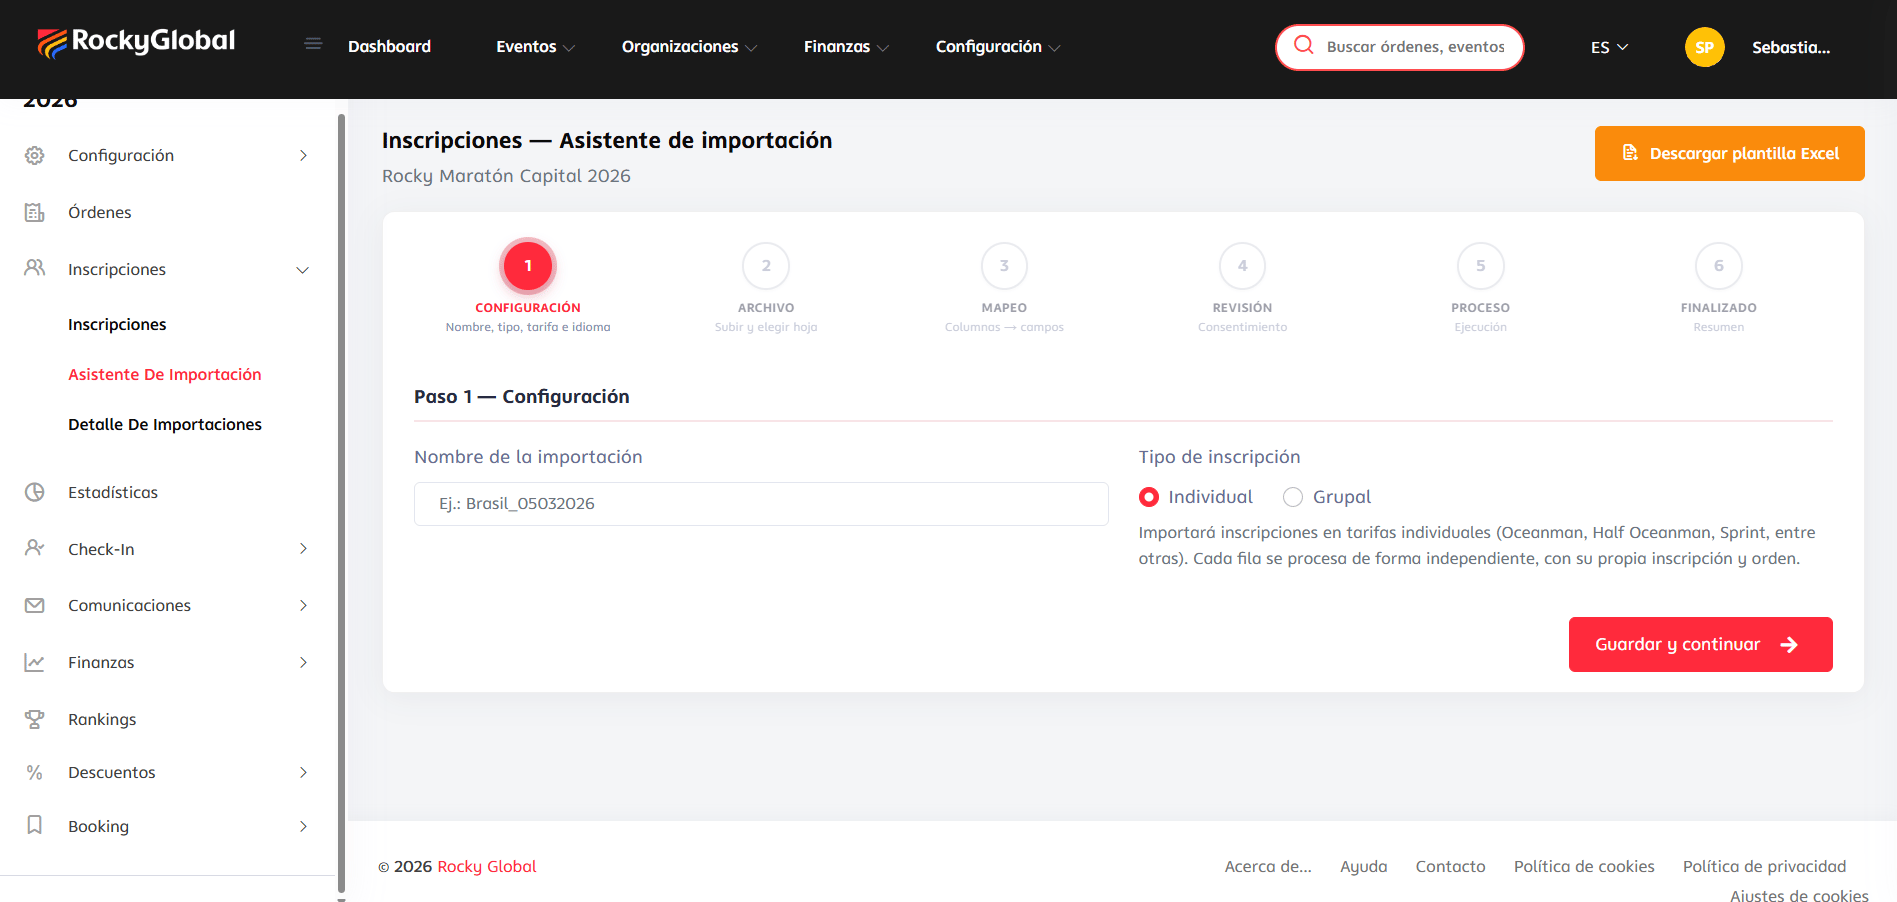
2
2. File
Upload your file (CSV, XLSX, XLS, or TXT, max 20 MB) and choose the sheet.
3
3. Mapping
Indicate which column of your file corresponds to each system field. The system suggests the mapping automatically.
4
4. Review
Preview with confirmation: the system shows row-by-row errors and detects conflicts (matches with existing registrations and duplicates within the same file).
5
5. Process
Run the import.
6
6. Finished
Summary of what was imported.
You can view the batch history in Import Details. Deleting a batch (or forcing its deletion) is only available to users with the Platform Administrator role, not to the organizer.
Special imports and manual registrations
Use the import wizard for participants who don’t use the regular online channel: authorities, sponsors, security staff (Navy, firefighters), VIP guests, and event staff. Download the Excel template, choose the correct fee (Staff, Complimentary, etc.), and import in bulk. You can also register individual participants manually from Registrations → Register participant, even with the public event closed.Bib number assignment
You can assign bib numbers to all participants in bulk: automatically by range, by fee groups, or manually via Excel (export, fill in the bib column, and re-import).Automatic by continuous ranges
Define a numeric range (for example, 1 to 1000) and the system randomly assigns bibs to participants who don’t have one yet. You can add prefix/suffix (e.g.A-001) and reserve ranges (elites, staff) that won’t be auto-assigned.
By fee groups
Assign specific ranges per distance (2K: 1–500, 5K: 501–1500, etc.). The system can suggest ranges based on enrolled counts per fee. Ranges must not overlap between groups.Special options
- Teams (Ocean Teams): enable Same bib for the whole group in check-in configuration.
- Elite / staff: reserve ranges (1–50) and assign manually.
- Excel upload: download the official template, fill the bib column, and import.
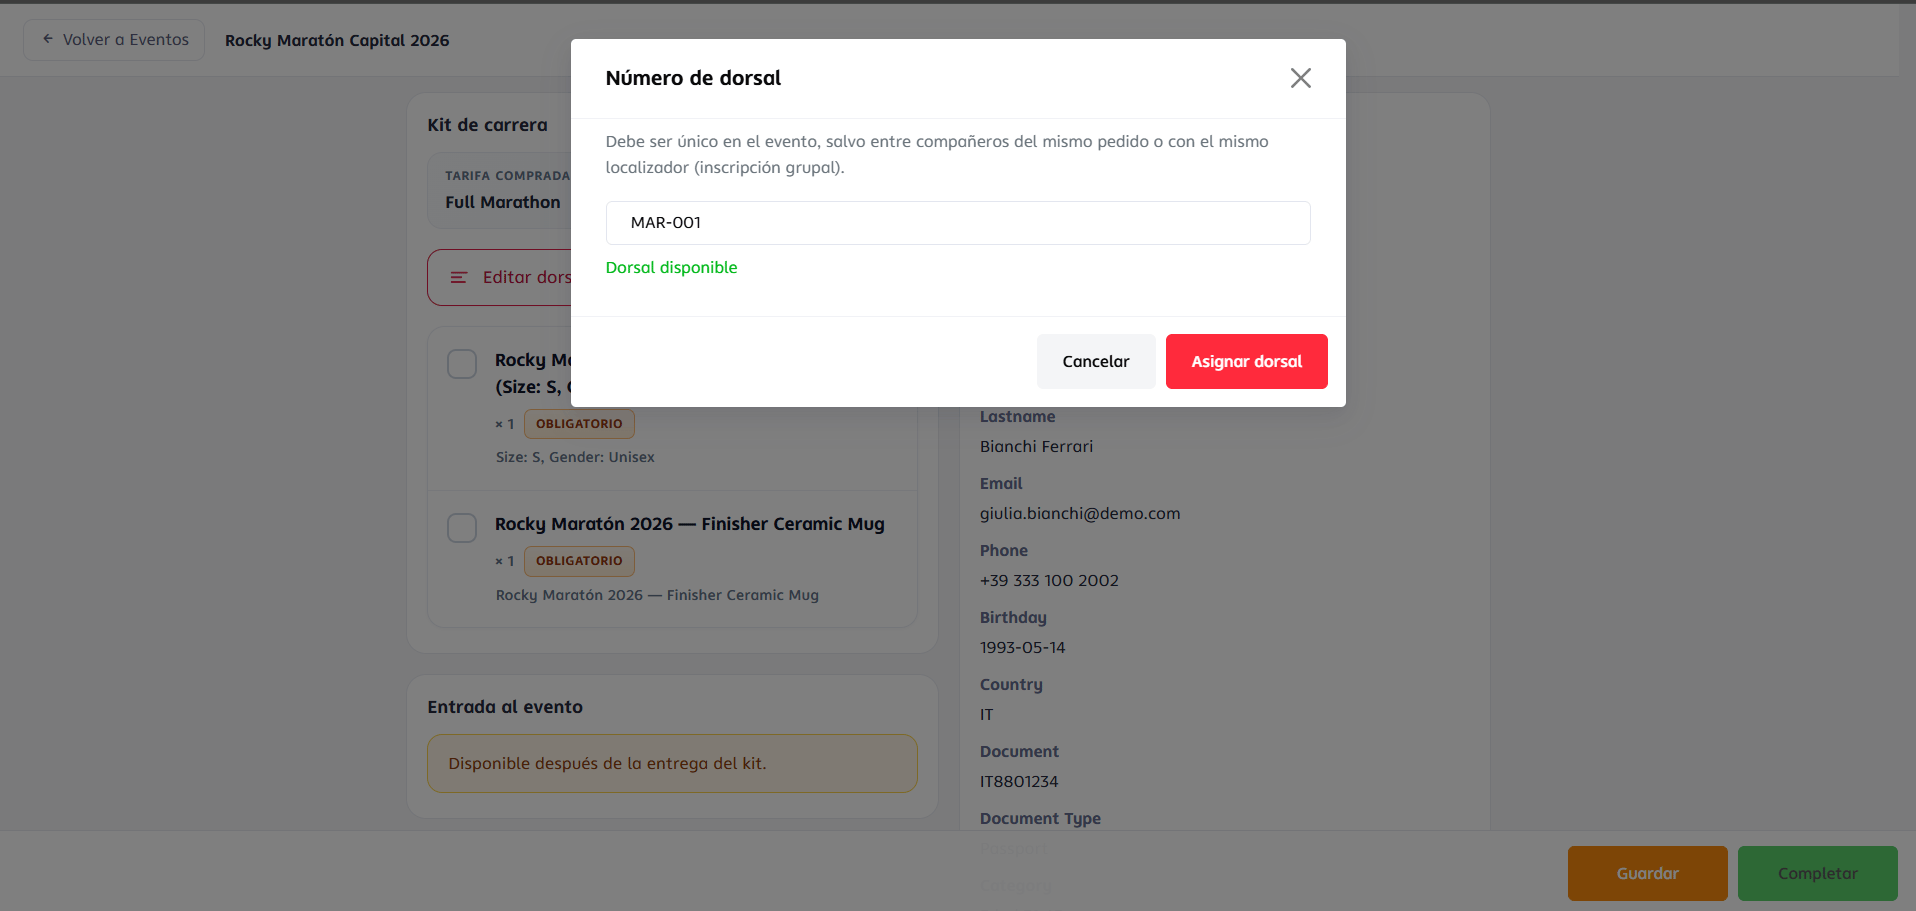
1
Find the registration
Enter the locator number (or search by email, name, or ID) to find the participant’s registration.
2
Set the bib number
From there you can set or adjust the bib number assigned to that specific registration.
Event check-in
The check-in module lives in its own menu (Check-In, with the submenus Check-In Configuration, Perform Check-in, and Details), and covers two distinct things you can mark separately for each participant:- Kit delivery: that the athlete picked up their bib, t-shirt, chip, etc.
- Event entry: that the athlete actually showed up on race day — a separate record from kit delivery.
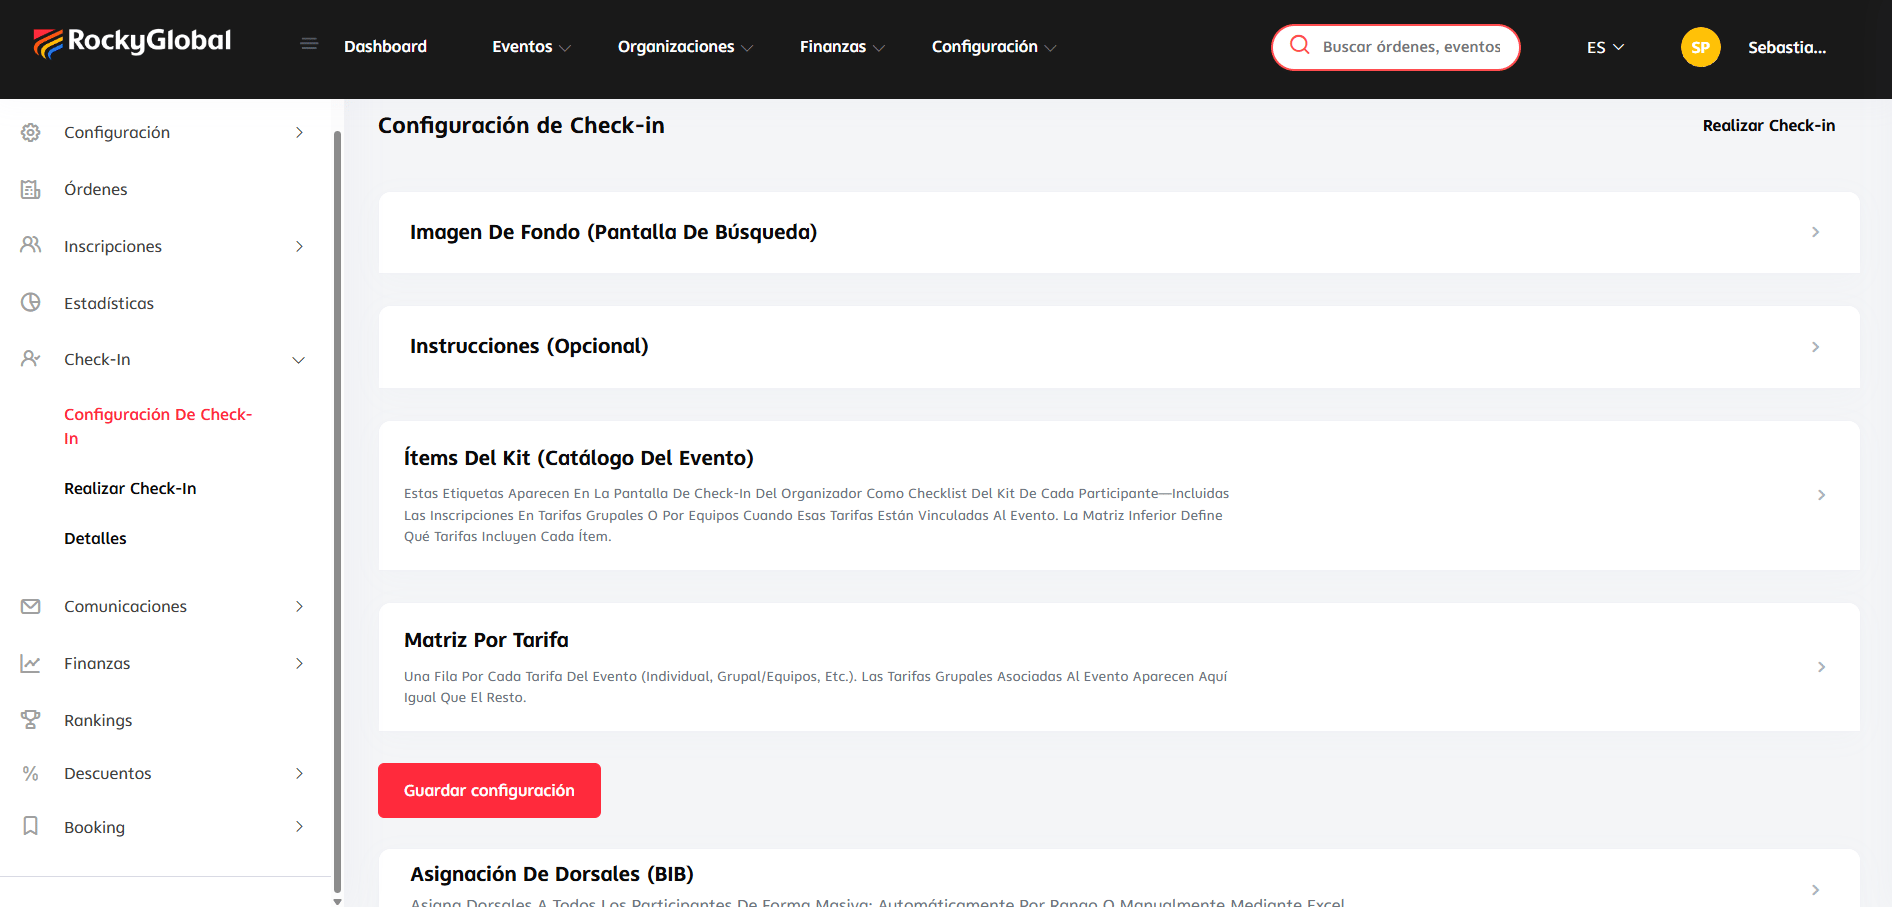
Configure check-in (optional)
Before the event, in Check-In Configuration you can define:- Background image for the search screen.
- Instructions (optional) for your volunteer team.
- Kit items (event catalog): the checklist your team will see for each participant, including registrations under group or team fees.
- Fee matrix: one row per event fee (individual, group/team, etc.), to define which kit items each one includes.
Volunteer roles
Create a custom role with only the Check-in permission and assign it to volunteer emails. You can limit access to a specific event. See Account setup.Perform check-in
1
Find the participant
Type in the Locator field (search by locator, email, name, or ID), or press Scan QR to use the device’s camera and read the participant’s QR code.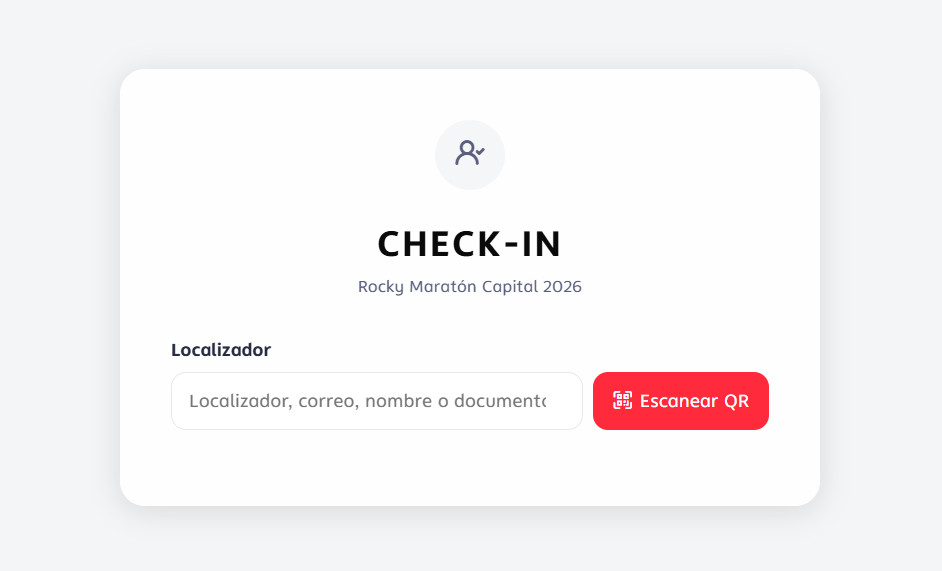
2
Mark what applies
Validate kit items on the checklist, assign or correct the bib if needed, and mark Kit delivery and/or Event entry independently (two separate phases).
Real-time control panel
On the event Dashboard you’ll see progress bars showing processed athletes vs. total enrolled:- Kit delivery: participants with kit delivered / total enrolled (OK).
- Event entry: participants who passed the entrance control / total enrolled.
Timing and chips
Rocky Global uses only the bib number for internal tracking during check-in. External timing chip numbers (Chronotrack, etc.) can be mapped after the event via an extra column in Excel exports — no need to duplicate records during check-in. See Timing integration.Details (activity log)
In Check-In → Details you can view and export a history of all kit deliveries and event entries recorded (who, when, and by which team member). It’s not a real-time panel, but it is a record you can consult afterward.Participants across all your events
In addition to the per-event view, the Participants item in the main menu shows registrants across your entire organization on a single screen, with its own filters:- Filter by event (or “All events”).
- Filter by status (for example, “Paid”).
- Search participants by name, email, or locator.