
Unlike the athlete, the organizer does not self-register. A Rocky Global administrator creates your organization, your user, and the initial setup from the admin panel.
Organizer profile
Once you have access, complete or review your organization’s information:1
General information
- Organization name.
- Logo.
- ID (document/tax ID depending on your country).
- Contact email and phone.
- City and country.
- Website (optional).
2
Bank details
- Bank.
- Account number.
Rocky Global processes card payments in euros through Redsys or Stripe. Which one charges each registration is up to you, under Payment methods in Finances and settlement, based on the country each entrant pays from.
Roles and Users
In the menu, you will find Settings → Roles and Users, with two tabs: Users and Roles. You can create custom roles and assign them granular permissions by module:- Finances.
- Events.
- Communications.
- Registrations (booking).
- Participants and orders.
- Users.
- Discounts.
- Store.
- Rankings.
- Statistics.
- Check-in.
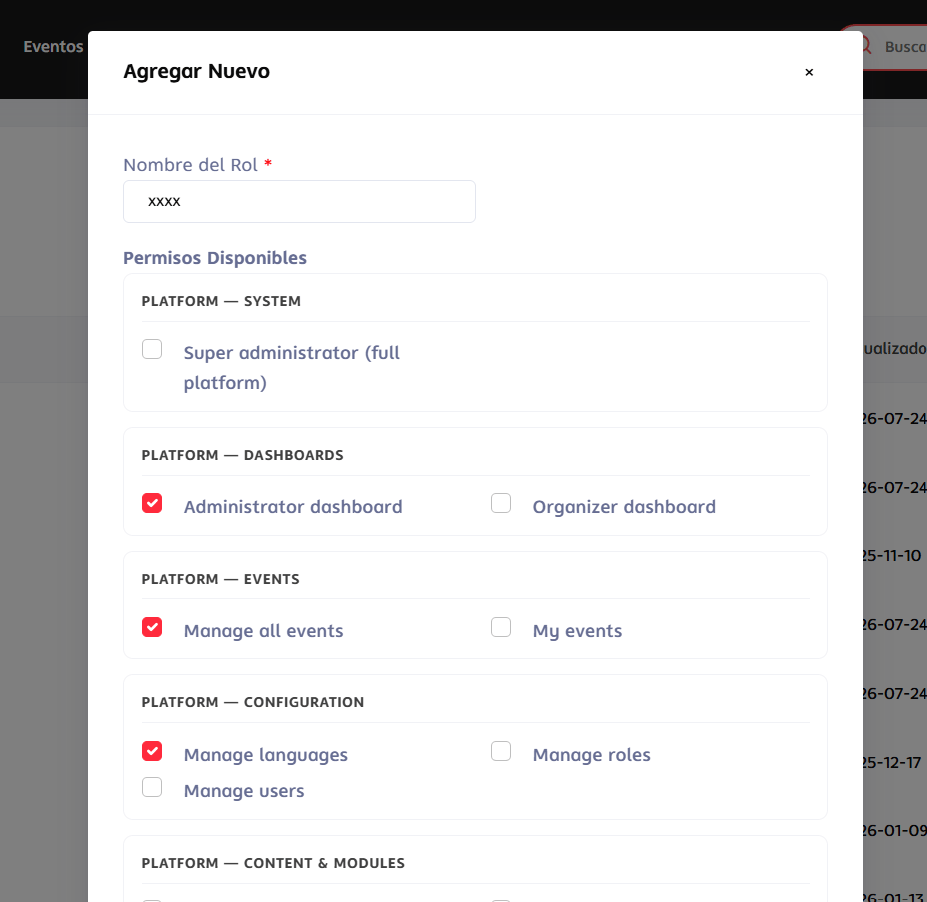
Invite a collaborator
- Go to Settings → Roles and Users → Users tab.
- Create or choose a role with the permissions you need.
- Enter the collaborator’s email and, if applicable, the events they will have access to.
- If the person doesn’t have an account yet, they’ll receive an email with a link to accept the invitation and set up their access. If they already have a Rocky Global account, they’re added directly to your team.
Manage your team
From there you can also:- View the list of collaborators with their role and the events they have access to.
- Change the role (or assigned event) of someone already on your team.
- Remove a collaborator from your team. This does not delete their user account, it only removes their access to your organization.